
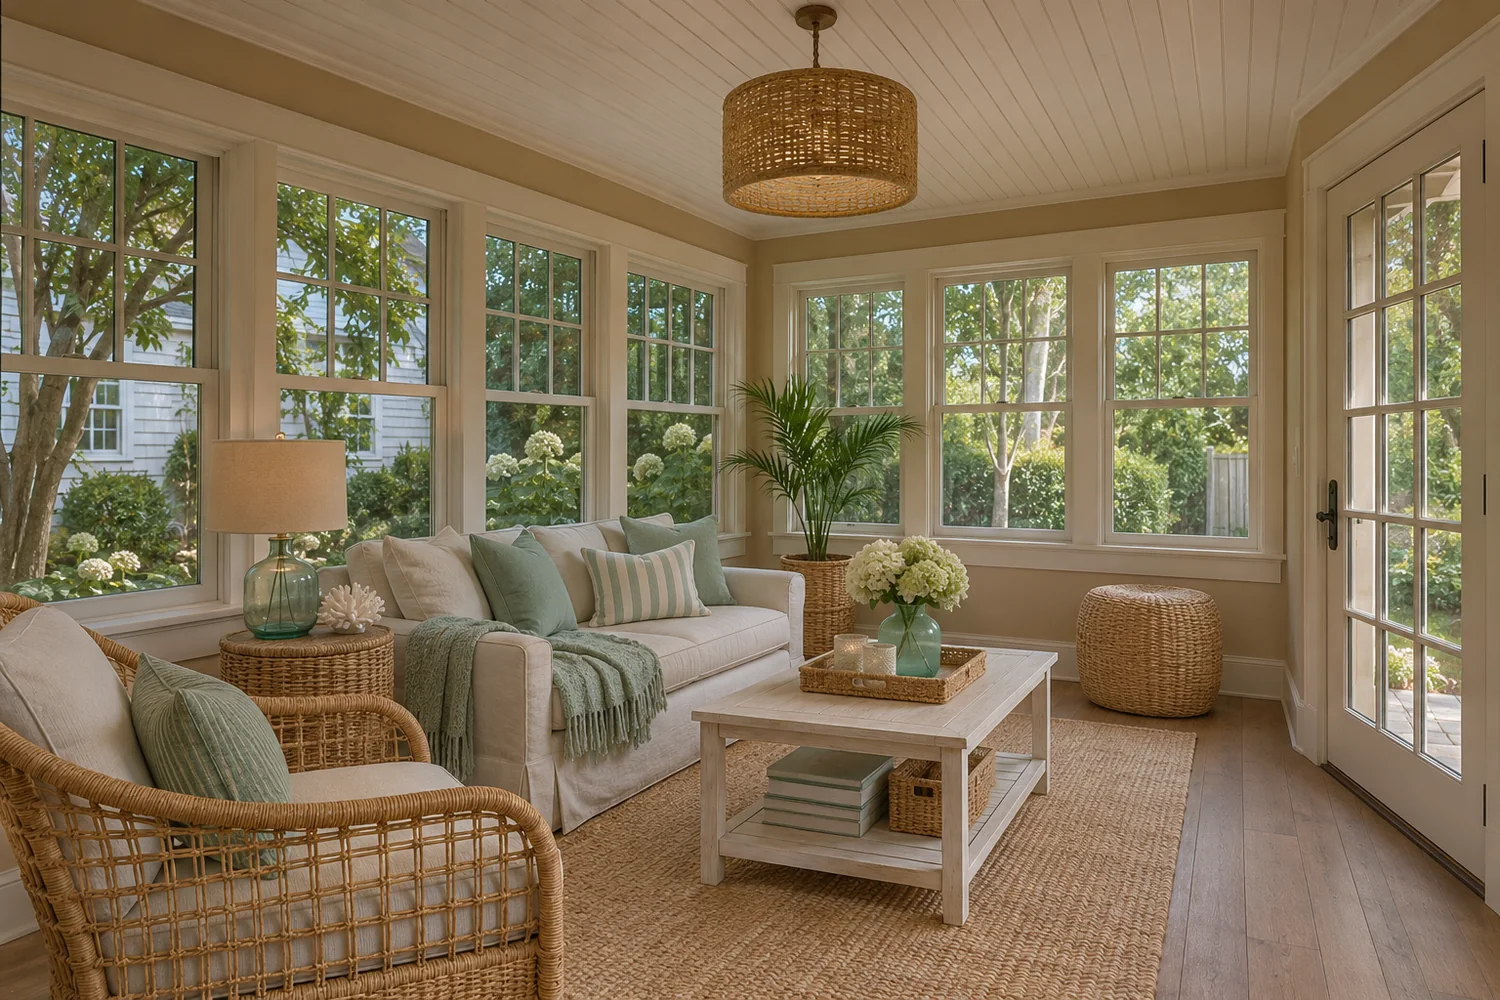
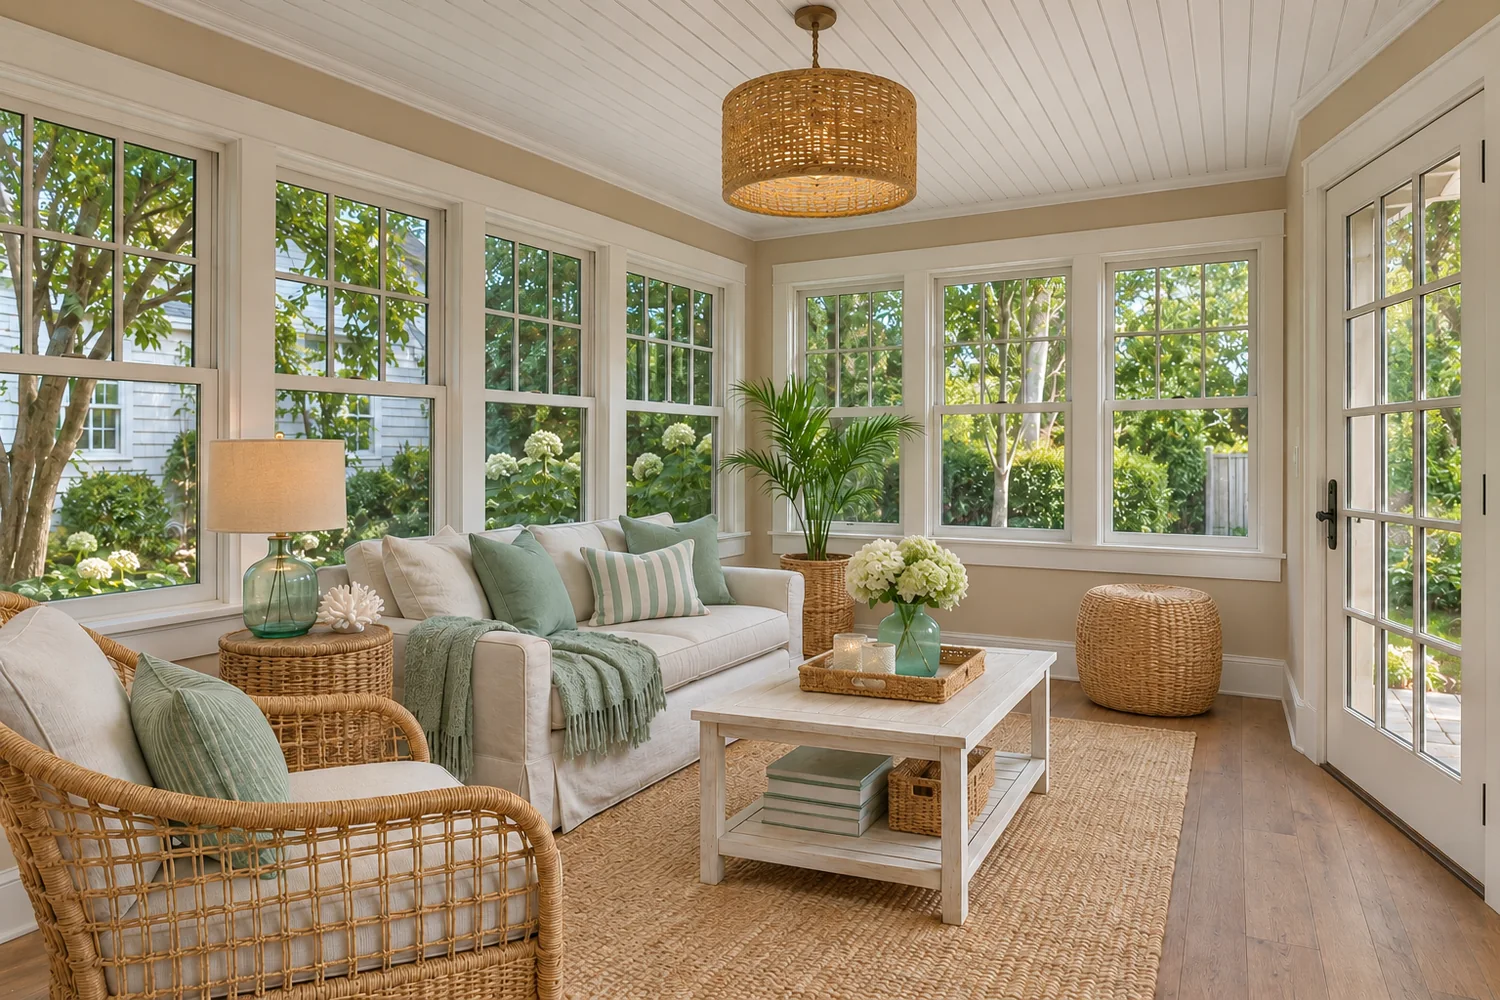
Editing cannot fully fix a poor photo. Furniture looks natural when the room gives it something to sit on: a clear floor, level lines and believable light. A few minutes on site can make a real difference.
Set up the shot
- Hold the camera level, at about chest height, so vertical lines stay vertical.
- Shoot from a corner or doorway to show two or three walls.
- Keep as much floor in frame as you can. Furniture needs a floor to stand on.
- Avoid extreme wide-angle settings, which can stretch a room and misstate its size.
- Take at least one extra angle of every room you plan to stage.
Manage the light
- Turn on all the working lights in the room.
- Open the blinds if the view is what you want to show.
- Shoot when sunlight is not throwing hard patches across the floor.
- Avoid filters. Keep the file as close to the camera's output as possible.
Prepare the room
- Remove small items you can pick up: cords, boxes, cleaning supplies.
- Do not hide damage behind objects. It should be repaired or disclosed, and it should not be edited out.
- For occupied rooms, note what conveys with the home so it is not removed by mistake.
Exteriors and twilight
For a twilight edit, write down which way the home faces and which outside lights actually work. Stellar requires that lighting not be added where it does not exist, and that the sun position be true.
Files and rights
- Keep the untouched originals in a folder of their own, apart from any edited versions.
- Ask the photographer for the full-resolution original. A downsized MLS export or a screenshot limits what can be done.
- Send the uncropped frame. Cropping after staging is safer than staging a crop that cuts off the corners of the room.
- Say where each image will be used: the MLS, your website, flyers or social posts.
- Confirm you may have the photo edited. If a photographer took it, check your license. Stellar's own tips are to take the photo yourself or get the proper license, and not to scrape photos from the internet.